
Benefits of Time Based Activities
Creating a Time Based Activity will help to simplify your swim lesson, music lesson, or private class setup and registration. Time Based Activities take advantage of Advanced Activities to allow you to enter multiple timeslots under a single activity. This allows for faster, simplified setup, better registrations, and easier roster management for both you and your instructors.
Creating Time Based Activities
- Click Programs from the leftside navigation menu if you need to add a new program for your Time Slot Activity
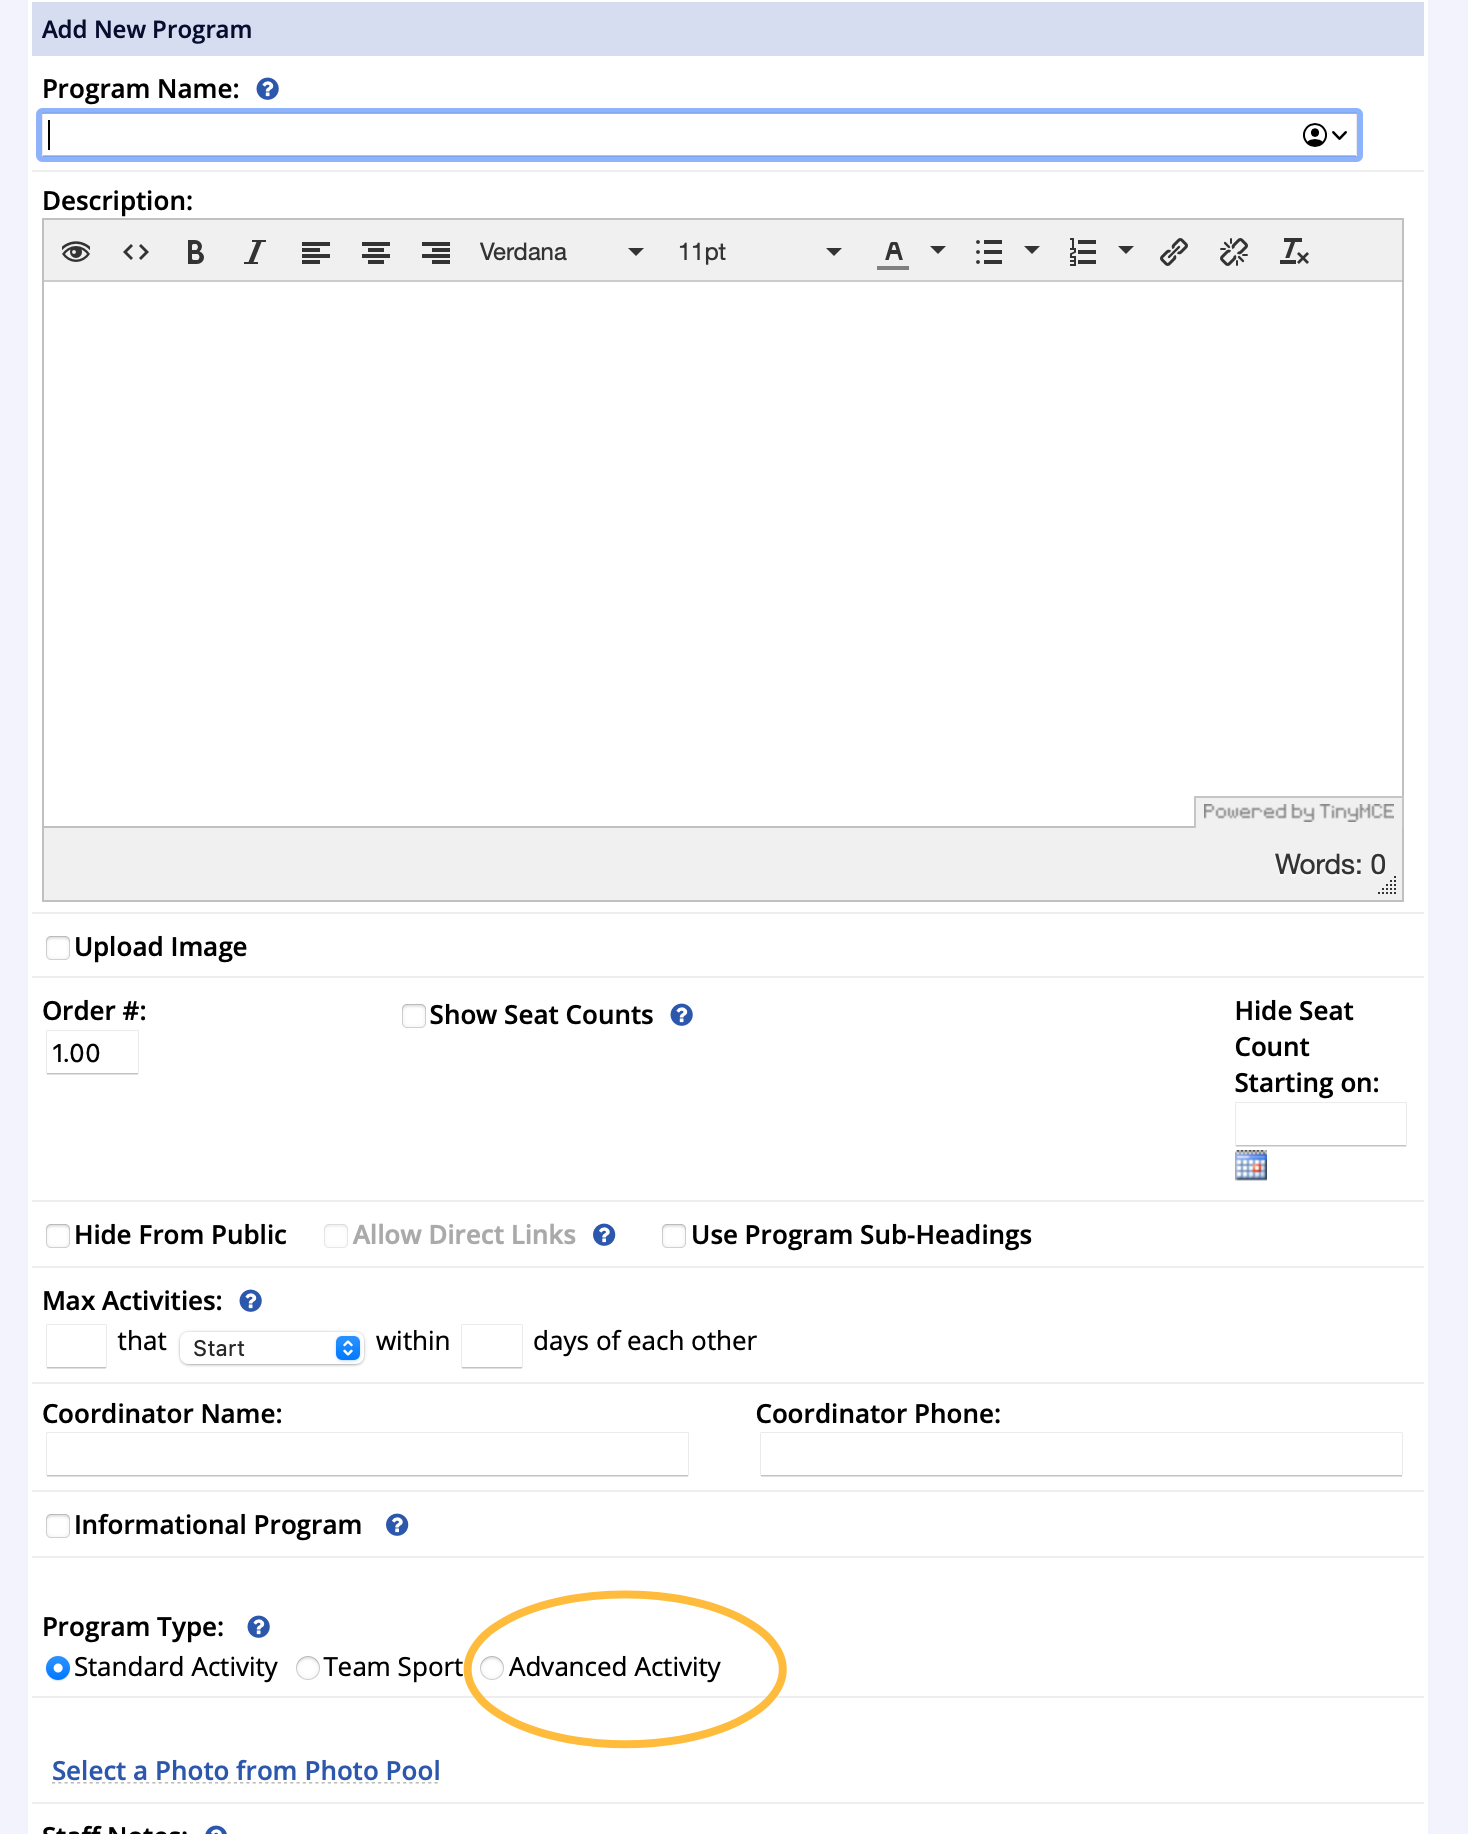
- Click Add New Program and complete the program setup
- Be sure to select Advanced Activity type during program creation
- In an existing advanced activity program, click the blue Add Activity button in the top right
- When adding a new Advanced Activity on the Add New Activity step, select Register by Time Slot

- On the Next Step, Time Slots will be created on the Add Activity Dates screen
- When adding times, start by entering your first time slot for the entire session
- There is a Time Slot help link at the top of the screen if you need assistance
- Then change the times and create more event dates if necessary
- Enter times in selectable blocks
- For example, if a registrant can choose an hour block, enter something like 11am to 12pm and then enter 12pm to 1pm after instead of 11am to 1pm
- From here, add pricing options, budget group assignment, registration information and requirements; just as you would with any other Advanced Activity See Advanced Activity Creation
Settings to Consider on Time Based Activities
- On Pricing Options, selecting the Use Registration Restrictions checkbox will limit the purchase of time slots per day to the number entered per registrant
- Understand that the Max Seats count will be set for each Time Slot
- Example: 8:00-10:00 (2 seats), 10:00-12:00 (2 seats)
- You will also be able to generate unique rosters for each time slot once the activity is complete and registration has started
Registering for Time Based Activities
- Start by searching for an activity as you would with a standard registration
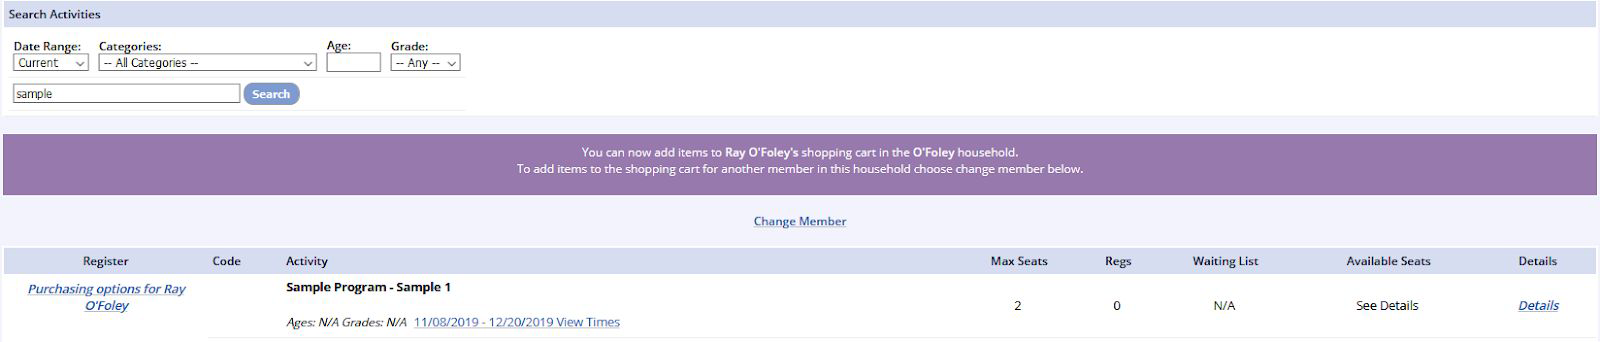
- Select Purchasing Options and then choose from the available options
- After selecting your Option, the system will ask you to choose a Time Slot
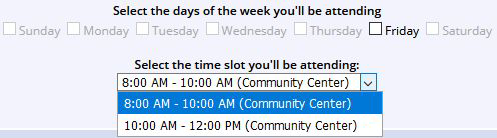
- If the slot has no available seating, it will not let you proceed with that time
- From this point on, add the items to the cart and proceed with registration as normal
Viewing Rosters with Time Based Activities
Rosters with Time Based Activities allow you to view all registrants for the entire program as well as registrants by Time Slots.

- Go to the Registrations tab within the activity
- Click View Roster
- Make your selections from the Select a Time Slot dropdown and Pricing Option dropdown
- Selecting All Timeslots from the dropdown will allow you to see all registrants at once on the same roster but with their session indicated in their roster entry