
Custom forms are a way to help convert your stack of paperwork into reportable data all done online. You can create a form with any fields you like from a birthdate field with calendar selection to a set of multiple choice checkboxes for date or item preferences and more. These forms only need to be filled out once per registrant until the form expires - no matter what they register for. Even better, the forms can be used without registrations to collect satisfaction information, vendor documents, or similar non-activity (and non-membership) form information.
On your management site, you can access the Custom Form Builder from the Memberships tab, the Programs tab, or via the Custom Forms link in your Quick Utilities box on the Home screen.
This is where you will go to create new forms, edit current forms, and access the list of those that have completed the forms.
Creating a New Custom Form
- To create your new custom form, click Add New Custom Form
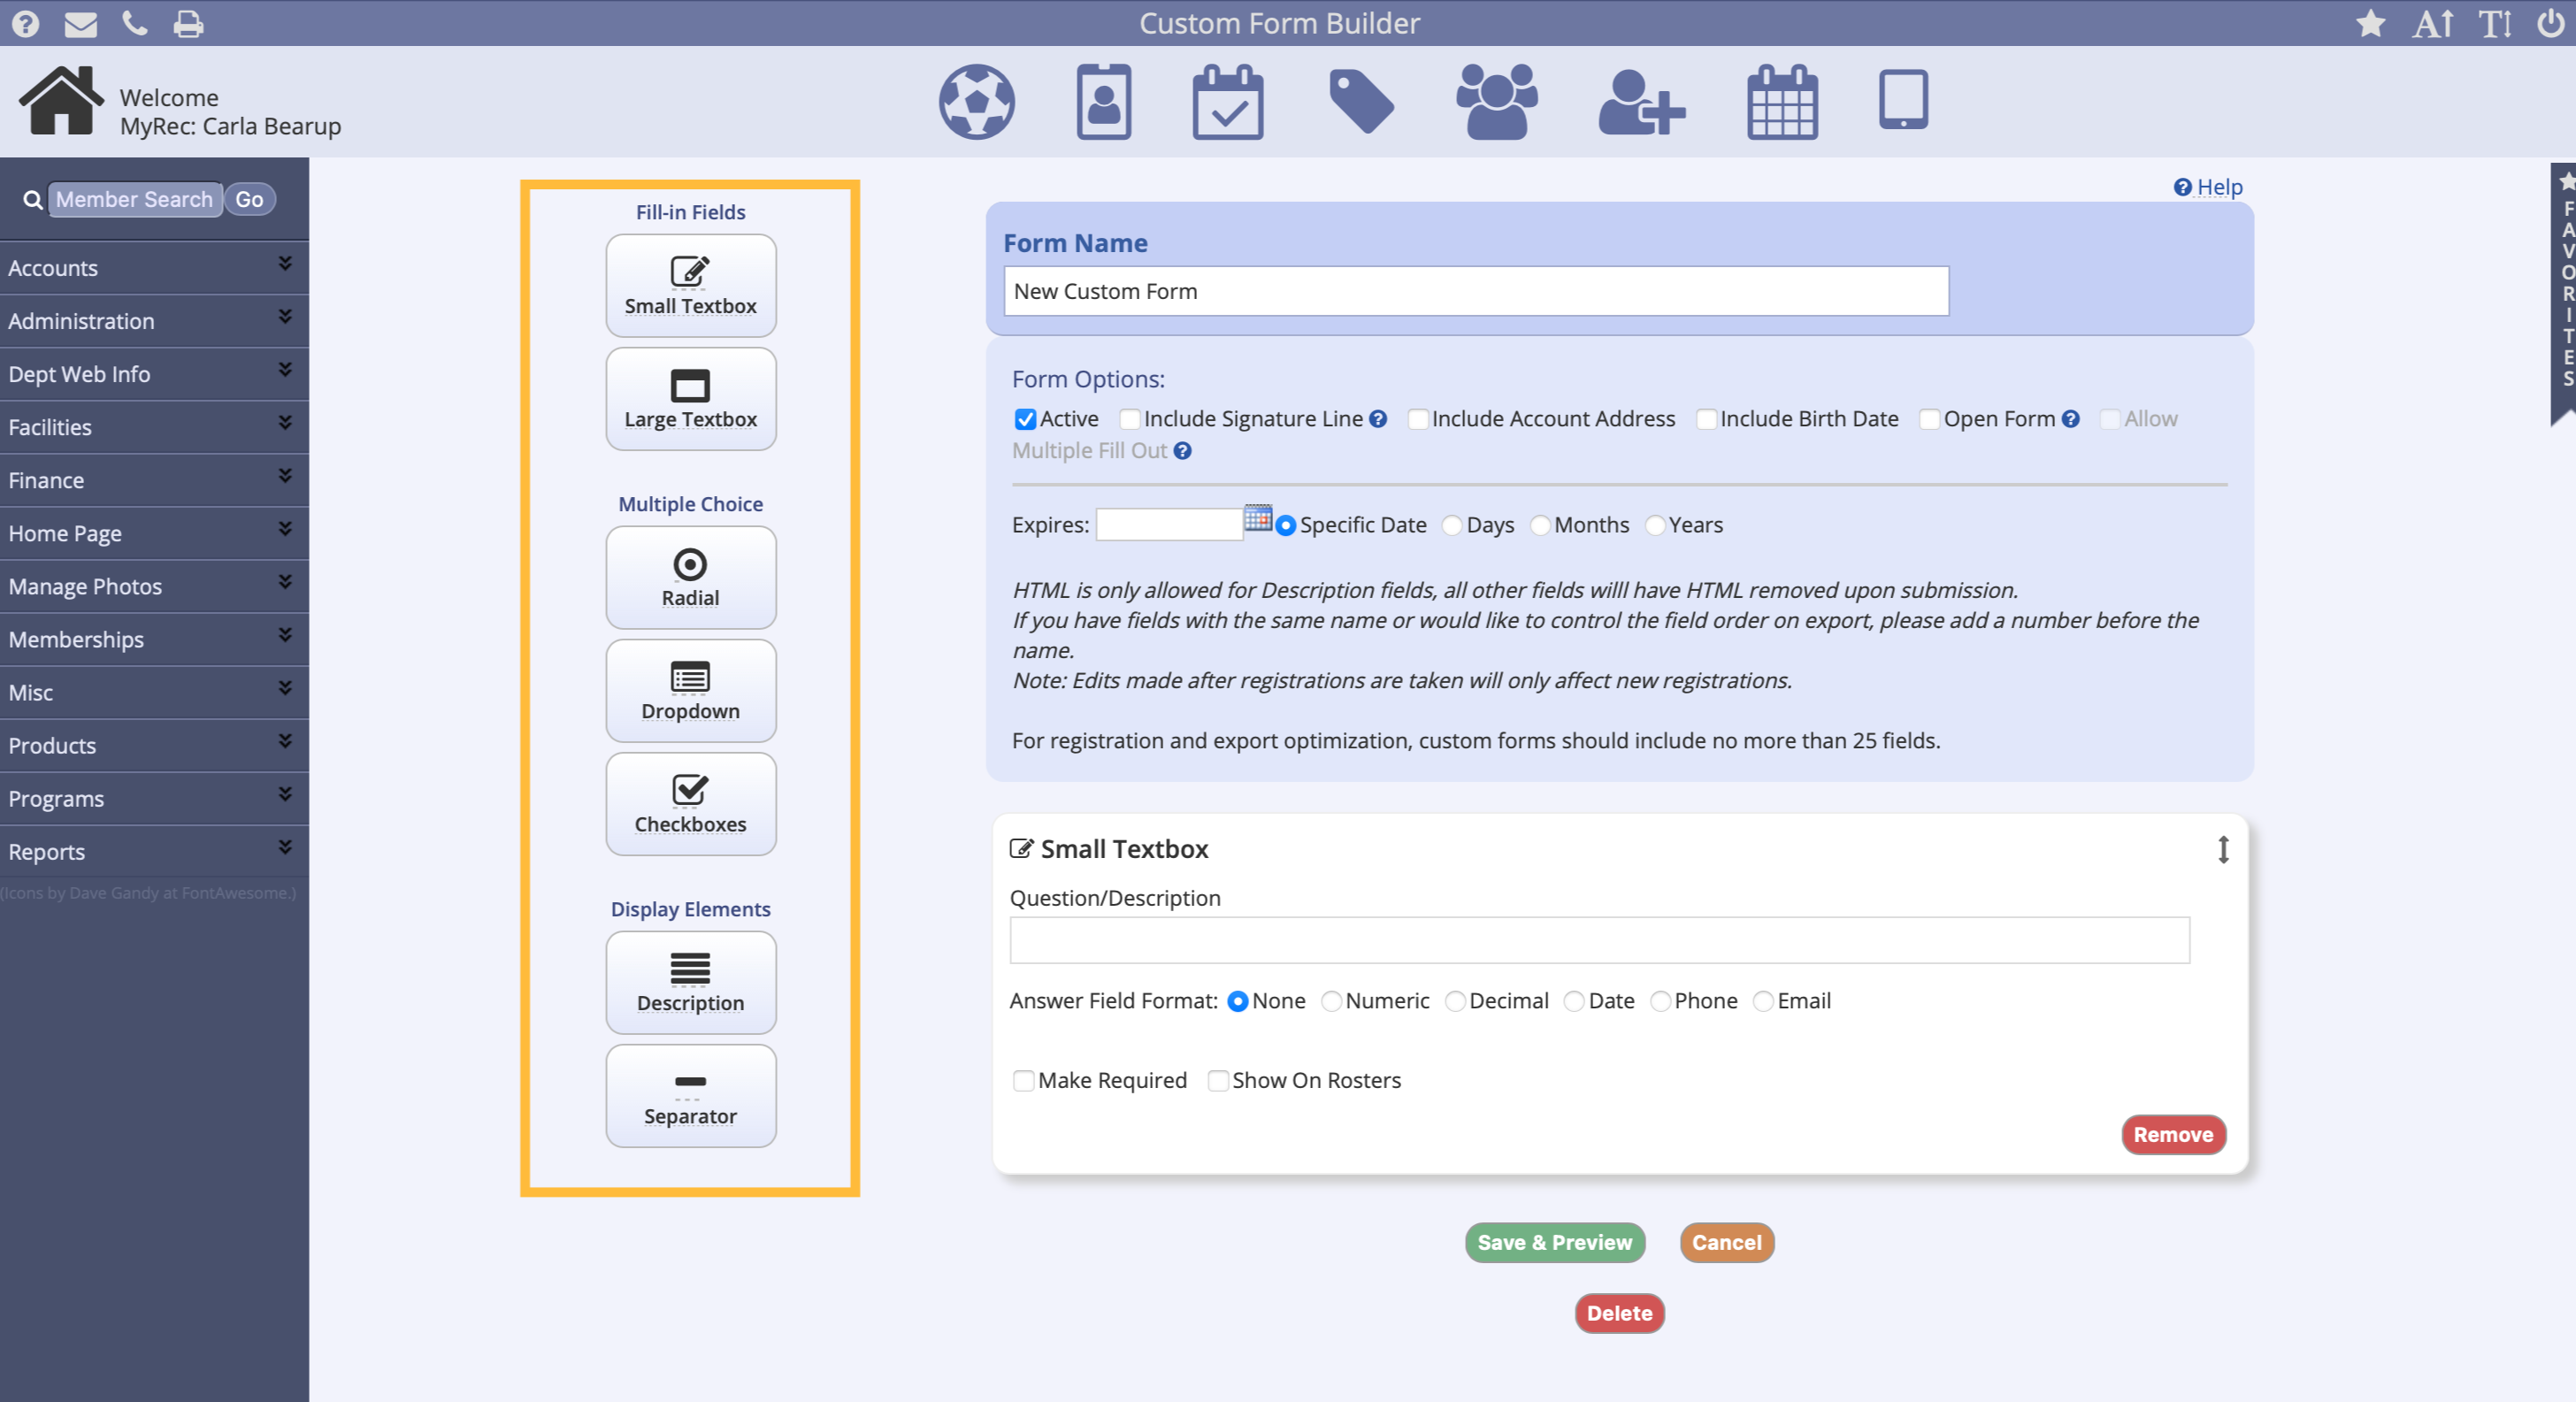
- Here we will see the left-hand navigation for the elements that you would like to add to your new form
Custom Form Elements
Fill-in Fields
Small Text Box
- Click the small text box icon and it inserts into your new form
- In the question or description box write the question or description that you’re wanting your customer to answer
- A variety of field formats for the answers can be identified. Choose from regular text which is the “none” radio dial, numeric for a field that can only have numbers, decimal which would indicate a decimal answer such as money, date which would be a data formatted field with calendar selector, phone which would insert format of the phone number or email field which requires the answer to be an email address
Large Text Box
- Click the Large Text box icon and it inserts into your form
- In the question or description box write the question or description that you’re wanting your customer to answer
- The Large text box element provides a text answer field to the form that allows for the customer to enter multiple lines of text for answering
Multiple Choice Fields
Radial
- Click the Radial icon and it inserts into your form.
- In the question or description box write the question or description that you’re wanting your customer to answer.
- In the “Options” box enter the customer answer selections. These will appear on the form each with a radio dial for the customer to choose from
- Enter the options one per line in the options box as indicated
- Selecting the allow other selection checkbox will allow the customer to select a radio dial that says “other”, which will then provide a blank text box for them to input their own selection
- Radio dials can only have one answer per question
Dropdown
- Click the Dropdown icon and it inserts into your form
- In the question or description box write the question or description that you’re wanting your customer to answer
- In the “Options” box enter the customer answer selections
- These will appear on the form in a dropdown box for the customer to make a selection
- Enter the options one per line in the options box as indicated
- Selecting the allow other selection checkbox will allow the customer to select an option that says “other”, which will then provide a blank text box for them to input their own selection
- Dropdowns can only have one answer per question
Checkboxes
- Click the Checkboxes icon and it inserts into your form
- In the question or description box write the question or description that you’re wanting your customer to answer
- In the “Options” box enter the customer answer selection
- These will appear on the form with a checkbox for each option the customer to make a selection.
- Enter the options one per line in the options box as indicated
- Selecting the allow other selection checkbox will allow the customer to select an option that says “other”, which will then provide a blank text box for them to input their own selection
- Customers can select more than one checkbox as this form element allows for multiple answers
Display Elements
Description
- Click the Description icon and it inserts into your form
- The description element is simply a large text field where a description can be provided
- Typically seen at the beginning of a form or to highlight a section of questioning, but also can be used for disclaimer like text as well
Separator
-
Click the Separator icon and it inserts a line into your form
-
The Separator element is simply a line that divides your other elements from one another
-
The Separator element is simply a line that divides your other elements from one another
Tips
- All form element boxes have an up & down arrow symbol in the upper right-hand corner
- This allows for you to drive the form elements up-and-down on the page to align your questions as needed. Click and drag the element up and down the page and drop where needed
- There are remove buttons on all of the form elements so that you can delete any question or element at any time from the form
- At the bottom of each form element box, you’ll see a checkbox that says, Make Required
- This requires the customer to answer the question before moving on
- Additionally, there is a checkbox Show on Rosters that when checked submitted answers can be shown on the roster and roster exports for that element
Form controls
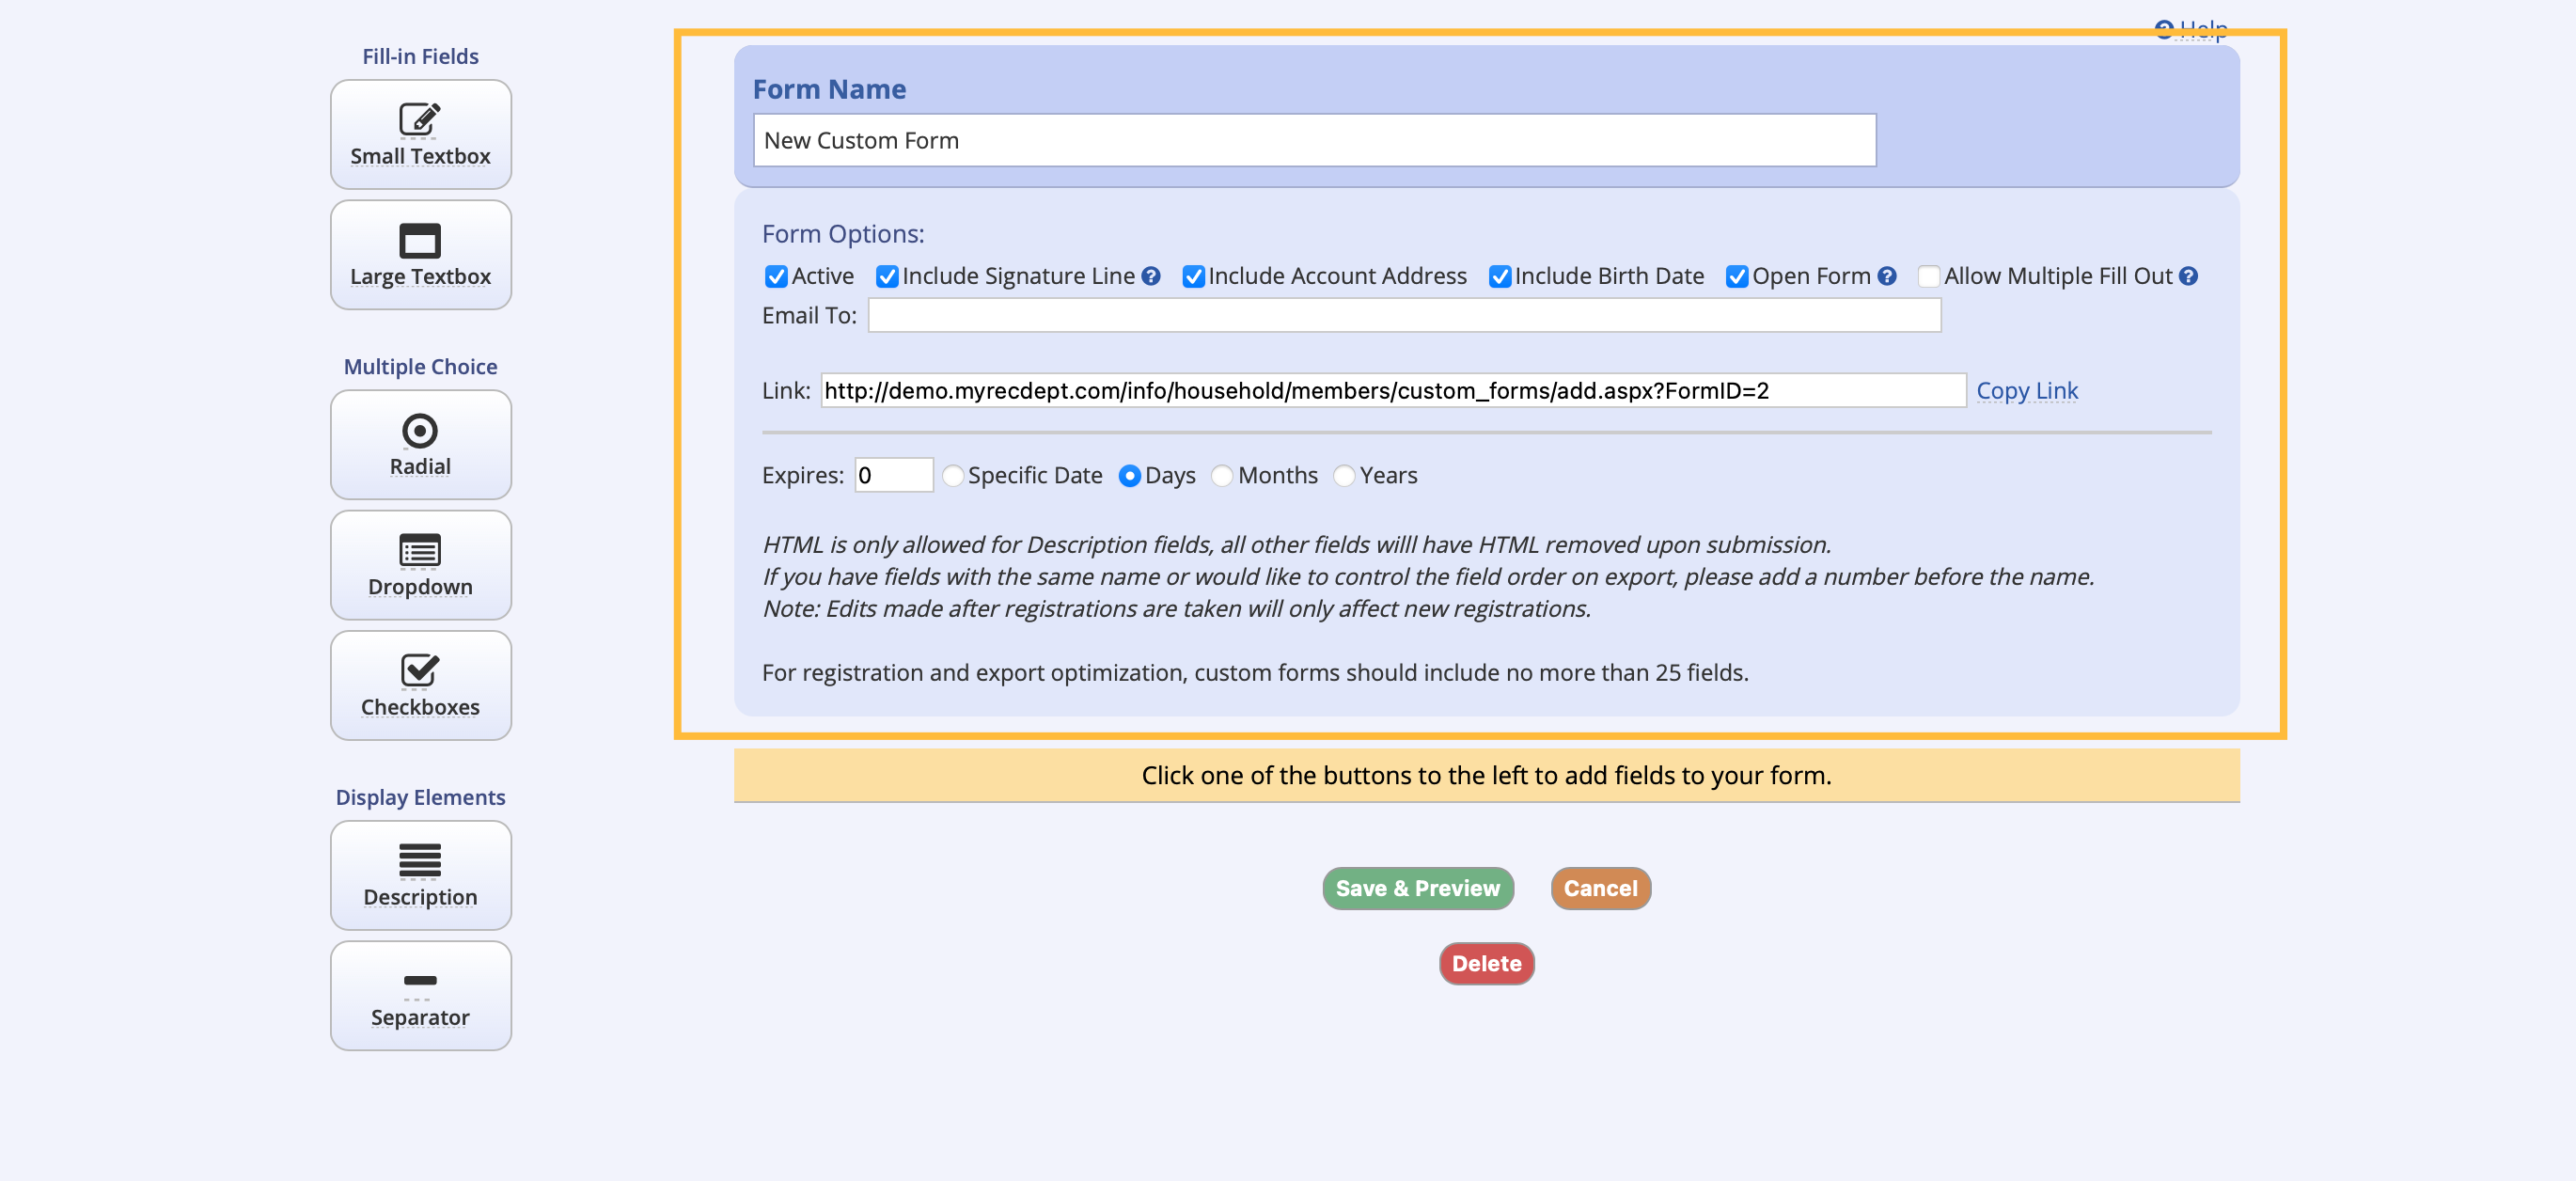
- At the top of the form, you will see a box to name the form, and then under that box you will find several other controls
Active
This checkbox controls whether or not the form is an active form. The form is made inactive by deselecting the active box. If the form is still assigned to activities the customers will still be prompted to fill it out. Inactive forms are not available to be assigned to activities.
Signature Line
This checkbox includes a physical signature line at the bottom of the form so that if printed the customer can sign and date.
Note: All forms by default have a digital signature. A time and date stamp with IP address of the customer appears at the bottom of each digitally customer completed form. Forms completed by staff from the management portal do not show the digital signature but rather a blank line. Customers can access their form from their public customer account and agree to the form to approve and this will then add the digital signature to the form.
Account Info
Include Account Address
This checkbox, when selected, will show the Account Billing Address on the form.
Include Birth Date
This checkbox, when selected, will show the member's date of birth as it is listed in their account.
Open Form
This checkbox allows for the form to be filled out at any time by the public. This means it does not have to be filled out in conjunction with a membership, reservation, or activity registration, but simply by providing a link to the customer. Click Copy Link at the end of the link box and paste into an email or email blast. Customers will be brought to the form via an account login or creation, to fill out the form. Open Forms also allow for Multiple Fill Out.
Multiple Fill Out
Multiple Fill Out will force your custom form to expire immediately so the customer can submit a new form. This can be used to collect information on a frequent basis (ex. this was used to facilitate Covid-19 screening because a customer could fill out a new form for each activity they were attending.)
Email To
This box will only appear if the Open Form checkbox is marked. In this area enter the email address of the person(s) that need to receive the completed forms. (Separate emails with a comma.) Typically, this would be for those who need to be notified immediately or who may not have access to the management side.
Note: Coaches / Instructors can be granted access to the completed forms from their public login for those activities for which they have been granted access. See Coach/ Instruction Permissions on the activity.
Expires
In this date field indicate the date or time frame for when the form expires. This can be filled in with the specific date of expiration, number of days, months or years that the form is good for from the time of completion. This allows for the particular form to be valid for a certain amount of time so that the customer doesn’t have to answer the form repeatedly for many different types of activities or memberships.
Saving the Form
- Once you have added all of the necessary form elements and set the form options, click Save & Preview button at the bottom of the form
- From here, you can Edit Form to make any corrections or Return to the List