
Account Creation Video
Video: Creating an Account
Please Note
Cellphone carrier is no longer required information for account creation.
- Click Accounts in the left hand navigation
- Select Add New Account
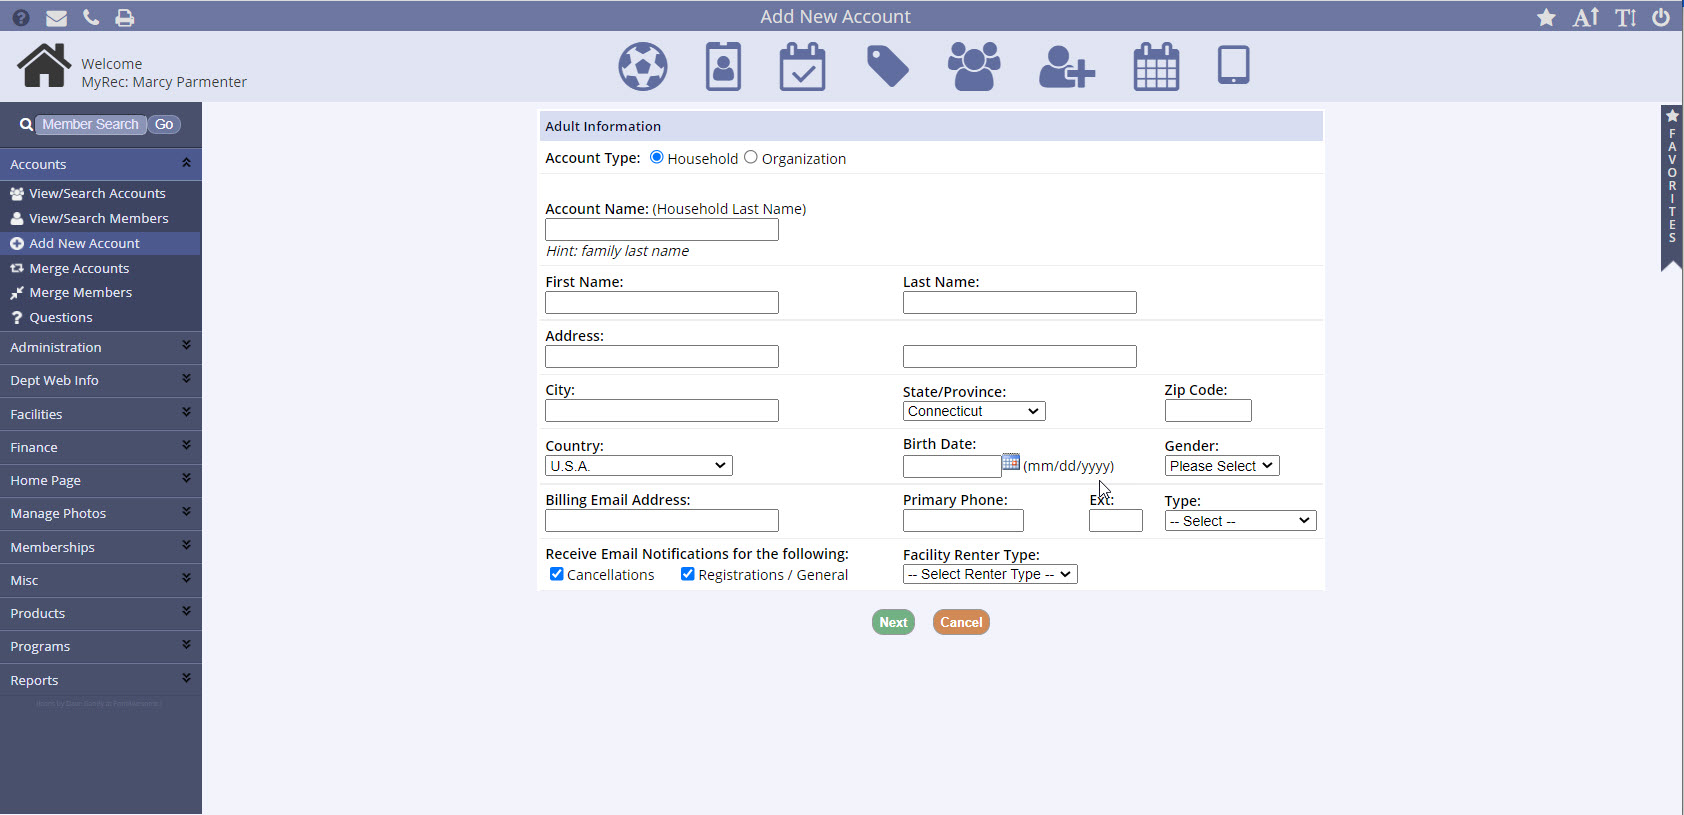
- Select an Account Type and enter the required fields
- Account name is usually the household's last name, or the organization's name
- Birth date and gender are always required for households, but they are optional for organizations
- The gender field can be customized, if requested
- A third gender option can be added using whatever language you choose (ex: Gender Non-Conforming, Prefer not to say, Other) or the gender question can be removed entirely, if requested
- Please contact Client Services to change these settings
- A third gender option can be added using whatever language you choose (ex: Gender Non-Conforming, Prefer not to say, Other) or the gender question can be removed entirely, if requested
- Billing Email Address can be left blank if necessary (only for management side account creation)
- Email Notifications for Cancellations and General Announcements are opted-in by default
- Deselect if the customer does not wish to receive these communications
- Facility renter type is used to determine rental pricing if needed (ex: Resident, Non-Resident, Non-Profit, Employee, etc)
- After entering information, click Next
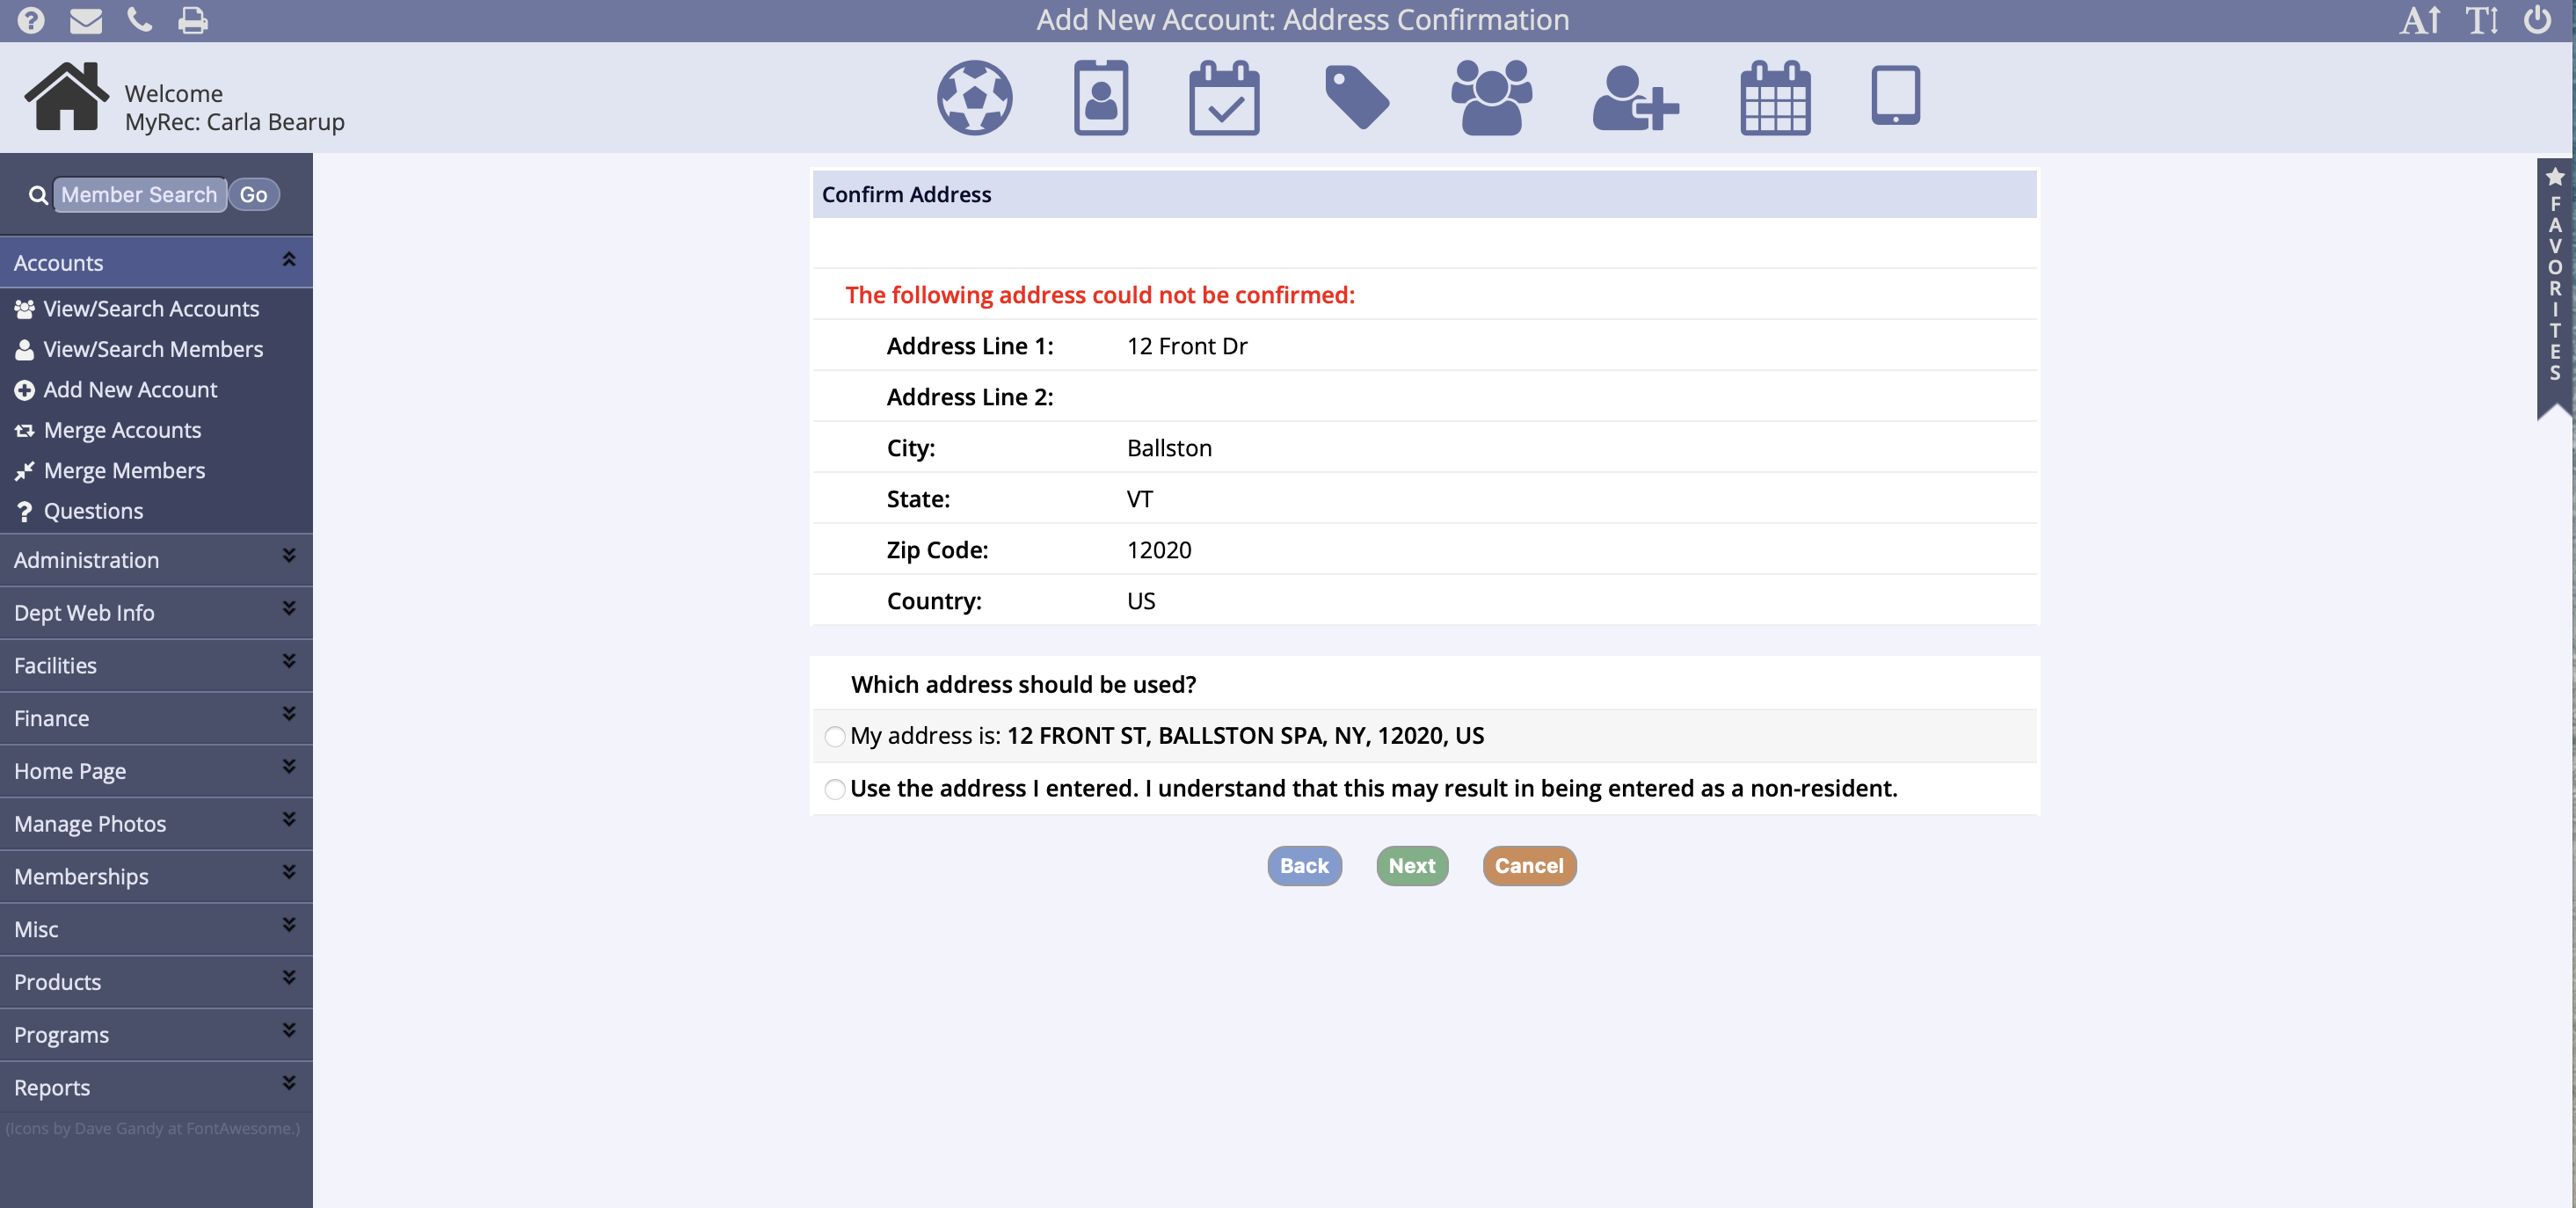
- If the message shown below appears on the next screen, verify the address lookup and select Next
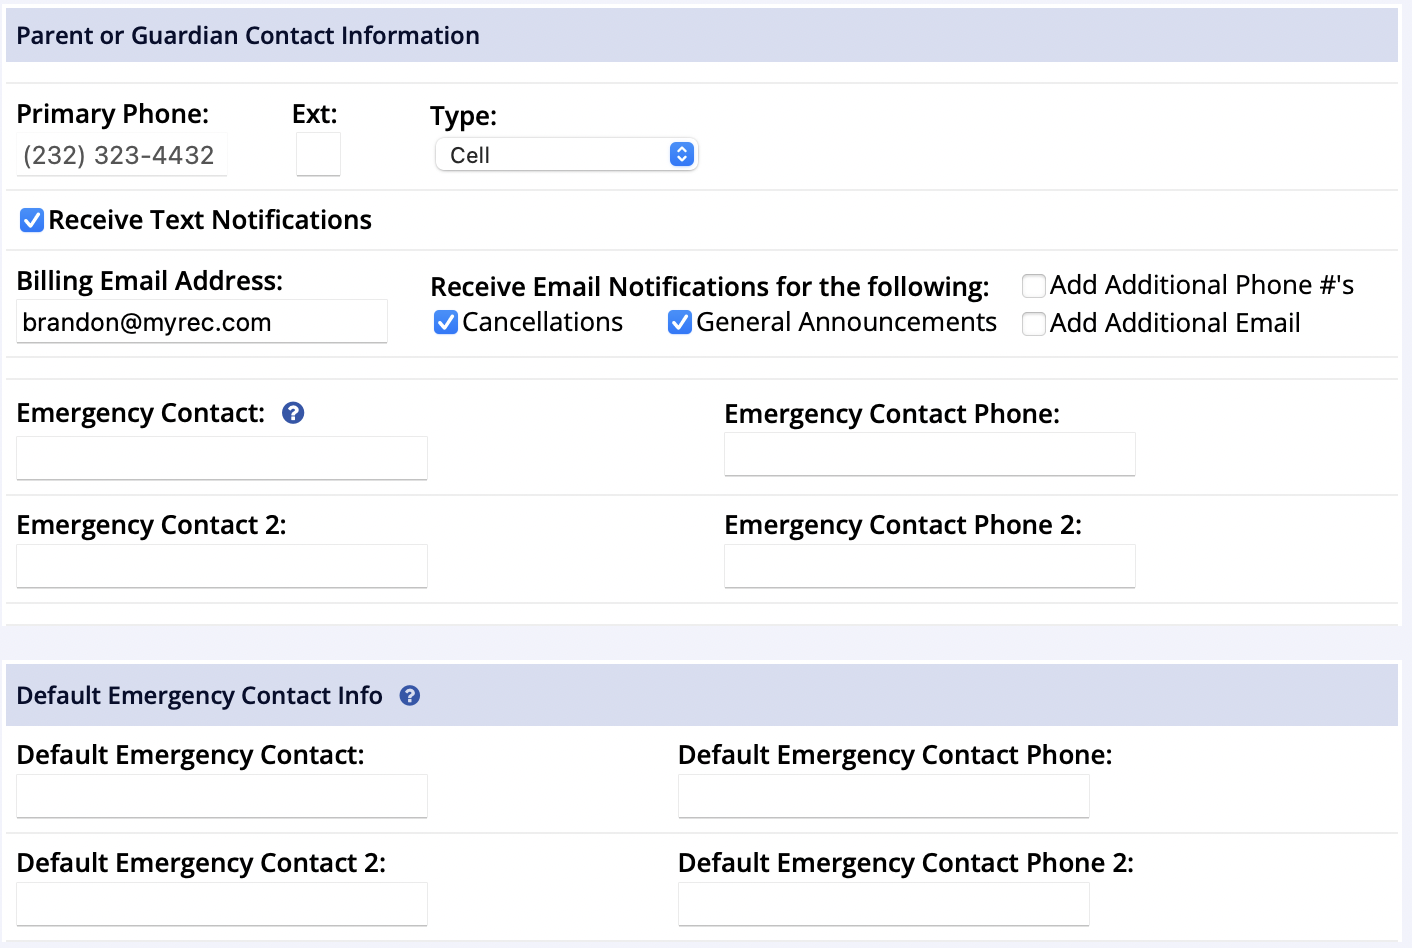
- Next, you will be asked to complete the user's contact information
- There is a checkbox to opt-in to receive text notifications
- Check the Add Additional Phone #’s checkbox to add more phone numbers
- The Add Additional email checkbox will allow more emails to be added
- Enter Emergency Contact name and phone number
- If the Emergency contact name and phone number will be the same for all members in the account, save yourself some time by entering this in the Default Emergency Contact field
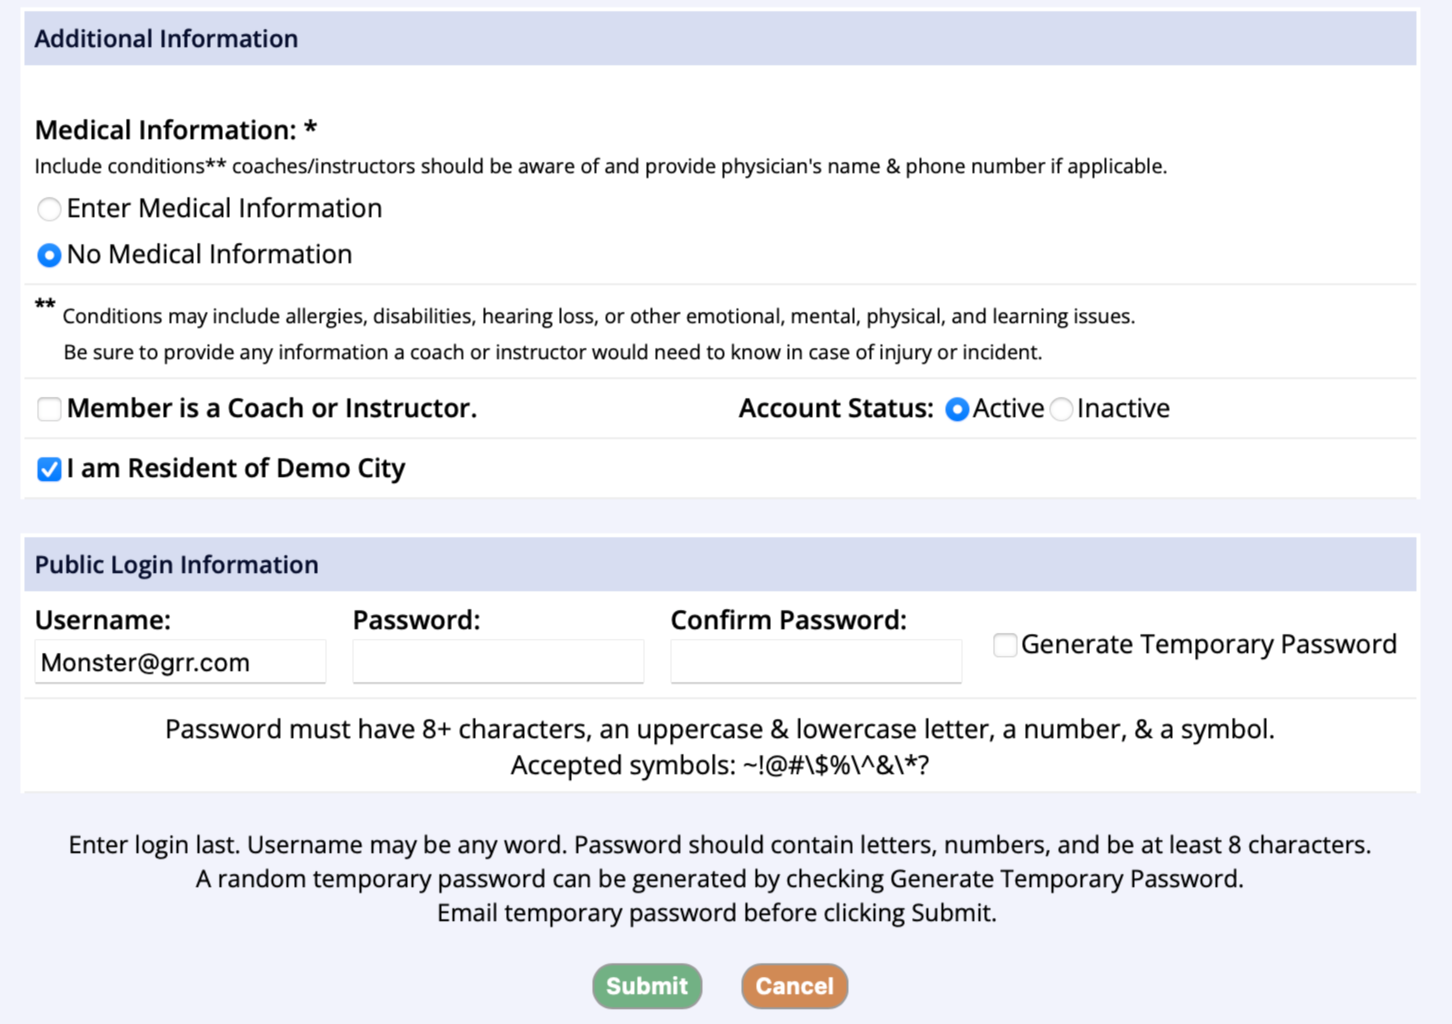
- The next page asks for medical information
- If the user has no medical information to enter, click the option No Medical Information
- If the member has a known medical condition, click the option to Enter Medical Information
- Enter any relevant medical information in the textbox that appears
- Medical information entered in this box will appear under the registrant's name on rosters
- Note: If you entered Medical Information and wish to change it to No Medical Information, changing the selection does not delete the text that was entered previously
- Depending on residency settings, you may be asked to confirm if the user is a resident
- All new accounts are set with an active status by default
- You can indicate if the user is a coach or instructor to give them access to rosters later
- This can be changed or modified at any time
- To allow the user to log into the public side to register for programs, reserve a facility, or sign up for a membership, you must enter a username and password for the user
- Setting the user's username as their email address makes it easier to remember
- You can enter a password manually, or check the box to generate a temporary password
- This will prompt the system to email the customer a temporary, randomly generated password, which they can change once they have logged in successfully
- Lastly, depending on your department, there may be account questions to answer for the user
- Answer those if they are present
- Submit to complete the account creation