
Home Page Photos display on the public side home page. They can be used to direct users to specific areas of the website (such as programs, department information, or memberships) or to outside websites (municipal site, social media, etc). This helps save the users time finding what they're looking for! This area features an image (either your own, or from our free photo pool) with some descriptive text underneath and a call-to-action button to help direct the user.
Home Page Photo Specifications
Home Page Photos are auto-cropped to a 3x2 ratio. If you wish to pre-crop your images, we recommend a minimum resize to 300 pixels wide by 200 pixels tall – any other 3x2 ratio will also work (600x400, 1200x800, etc).
Add, Edit, or Delete Home Page Photos
To Add a New Home Page Photo:
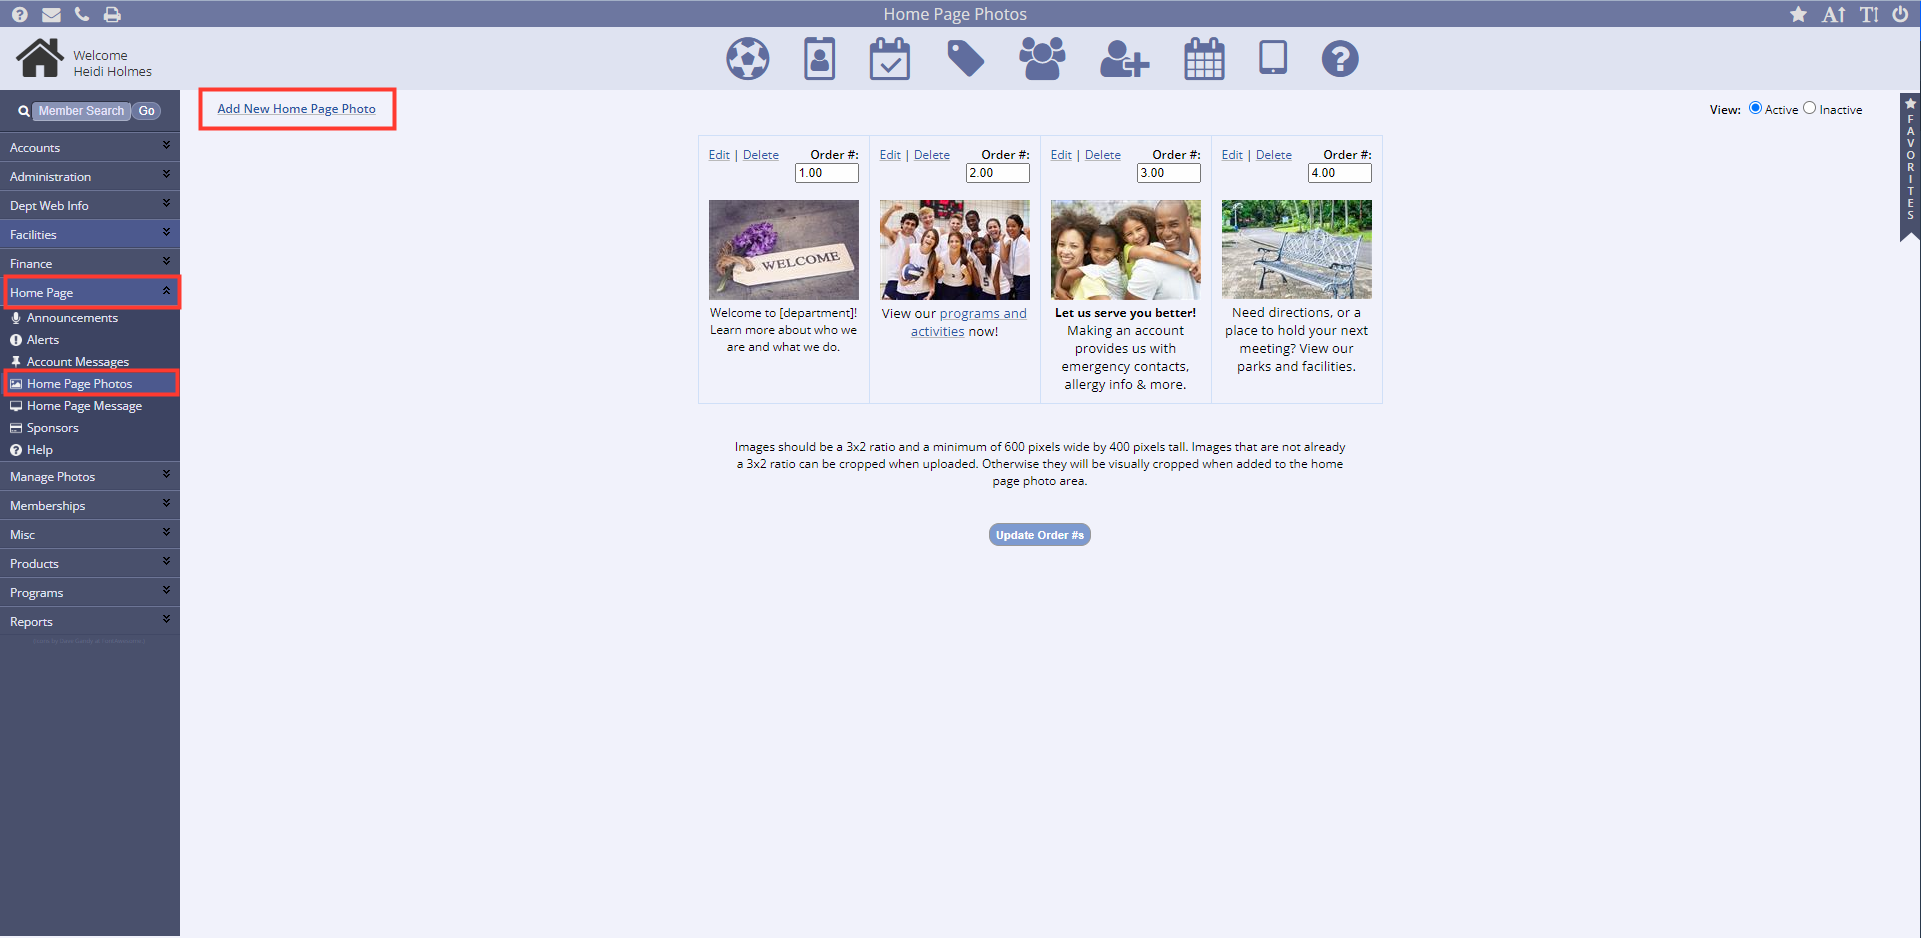
- Click Add New Home Page Photo in the top left corner
- Enter the description
- This text will appear below the image on the public side
- To keep pages from getting too long, home page photo descriptions are limited to four lines of text
- Make sure to check the public side after adding/changing a description to ensure it doesn't get cut off
- If desired, you can enter a URL for the photo
- The user will be brought to this link when they click on the photo.
- Enter the text you'd like reflected on the button in the Button Label field, and the link to where the button should go in the Button Hyperlink field
- Button text is cut off after 15 characters
- It's best practice to use the same link for the photo and the button
- If you are linking within your MyRec.com site, leave Open in New Tab unchecked
- If you are linking outside the site, check that option so the user can easily navigate back
- Enter the Order Number of where you want the photo located on the page
- For example, 1.00 will be the first on the left side, 2.00 will be to the right of number 1.00, etc…
- On the public side, up to four home page photos will be visible
- To view more, they will need to click the View All button.
- Set a Start Date and an End Date for the home page photo to appear (optional)
- Click Select a Photo from Photo Pool
- To use a stock photo, select the Photo Pool radio button, then pick a category and click on the image you want to use
- To upload your own photo:
- Click Upload New Photo in the top right corner of the pop-up window
- Click Choose File, navigate to the file on your computer and click Open, then click Next
- You will be prompted to crop your image
- Click and drag the shadow box to the area you want to crop
- Please note that if you do not crop your photo, part of it will be cut off on the public side
- Click Next when you're done cropping
- Click and drag the shadow box to the area you want to crop
- Select a category and add a caption to the photo, then click Save Image
- When all the required information is entered, click Submit
